


The Servo Motor Repair Process Explained
An Exclusive Behind-The-Scenes Look at ICR Service’s Motor Lab in Warren, MI
Breaking down the servo motor repair process in 7 easy and straight to the point steps. It’s the next best thing to being there in person although you can do that too.
1. EVALUATION
We take data collection seriously
ICR Services has thousands of motor data records on hand loaded with all the specifications. We access these records with every servo motor, to execute a successful, repeatable repair every time.
These data records are more than a how-to
guide. When a motor enters our repair process, it undergoes a series of evaluations to expose every layer.
Basics from rotation to more advanced information, including the number of poles and even commutation, are recorded for each motor. Data is the voice of the motor. It tells us what happened.
Know What You’re Dealing With
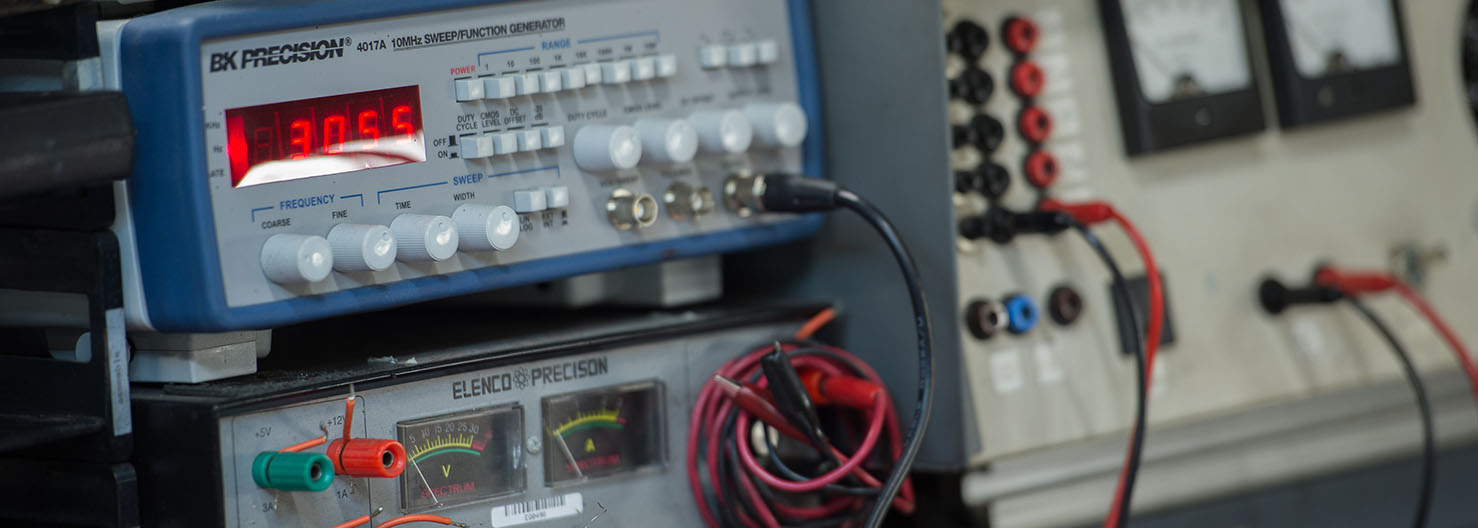
Internal quick checks are comparable to an annual physical exam. We’ve established four tests that enable the ICR technician to determine the general status of the servo motor’s health and where the investigation should focus.
Some of these tests deal with winding insulation, whereas others are looking for internal shorts or the back electromotive force (BEMF).
- Phase-to-Ground
- Back Electromotive Force (BEMF)
- Phase-to-Phase
- Feedback Check
Measures the insulation resistance to the ground using a megohmmeter to detect shorts.
BEMF is a type of electrical resistance/counterforce. Here we use a 1000 rpm back drive test stand.
Measures the insulation resistance between phases using a multimeter to detect shorts.
Reviews the overall condition and functionality of the feedback device to determine if it needs replacement.
Benchmarked for Success
Each servo motor undergoing repair is compared against known good measurements. These need to match and while others are satisfied with close-enough,
our servo motor repair technicians pursue precision. When the numbers don’t match our investigative work has only just begun.
ICR repair standards require technicians to dig even deeper until specs are restored to the original equipment manufacturers recommendations. That’s why we can stand behind our 12-Month Date of Install Warranty.
Going one step further, the root-cause of the motor’s malfunction is determined. This will help us identify potential points of breakdown that you can avoid when the motor is operating in your facility.
2. DISASSEMBLY
Time to get our hands dirty
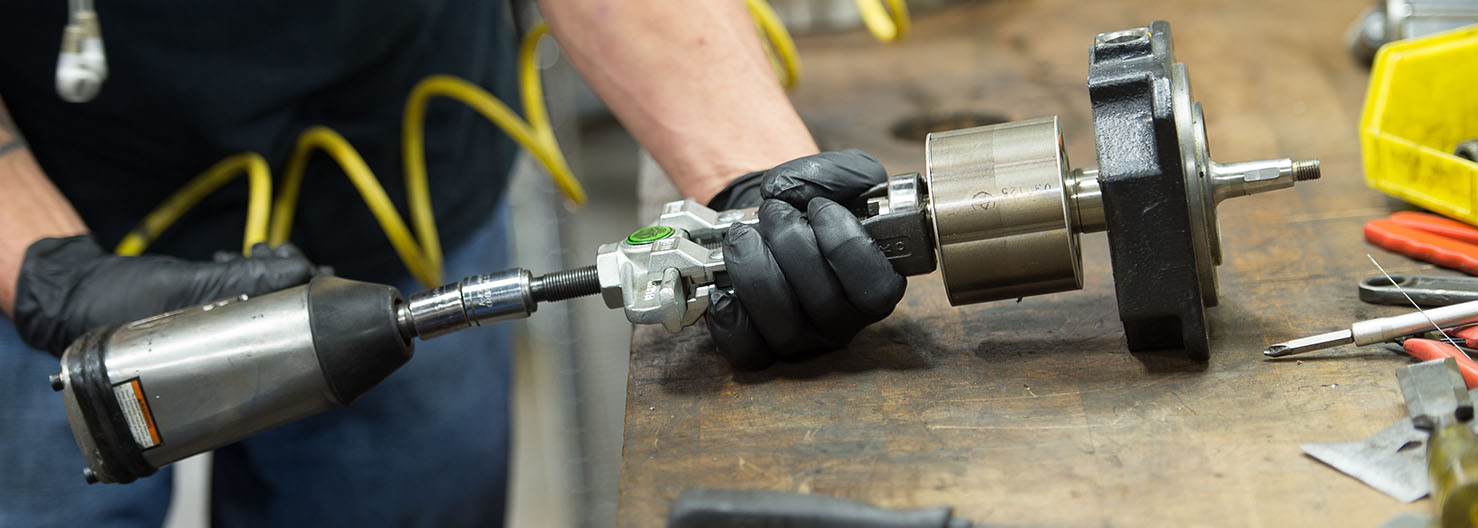
When we’ve got our prescriptive test numbers, we move on to end to end deconstruction. From pulley end (PE) to opposite pulley end (OPE), every piece of the motor is brought into the light.
The two most common servo motor failures are subverted with these two next steps:
- New Seals
- New Bearings
Installing all new seals keeps the interior of the servo motor gleaming by fending off any unwanted contaminates.
Both bearings are replaced every time with new or refurbished units – many times hitting above OEM specs. Obnoxious and production crippling vibrations don’t stand a chance.
The Investigation Continues with These 3 Questions:
1. What can be reused? 2. What needs to be replaced? 3. What should be repaired?
Much of what other repair and service centers outsource, we’re able to keep under the care and watchful eye of our own techs. This reduces repair time and maintains a consistent repair process.
Things like shaft runout, bearing journals, and bearing bores can all be corrected in-house – to name just a few. Thanks to our machinists, of course.
3. CLEANING
A whole new world

ICR has invested in the same method of cleaning that is used in automotive, aviation and aerospace, medical device manufacturing, and electronic assembly. Ultrasonic cleaning allows the technician to conduct an up-close inspection of disassembled parts to catch even the smallest would-be issues.
The recipe of solvents in the vapor serve to break down fine particles and other burnt-on contaminates that common handwashing methods cannot.
4. REASSEMBLY
Putting it all back together
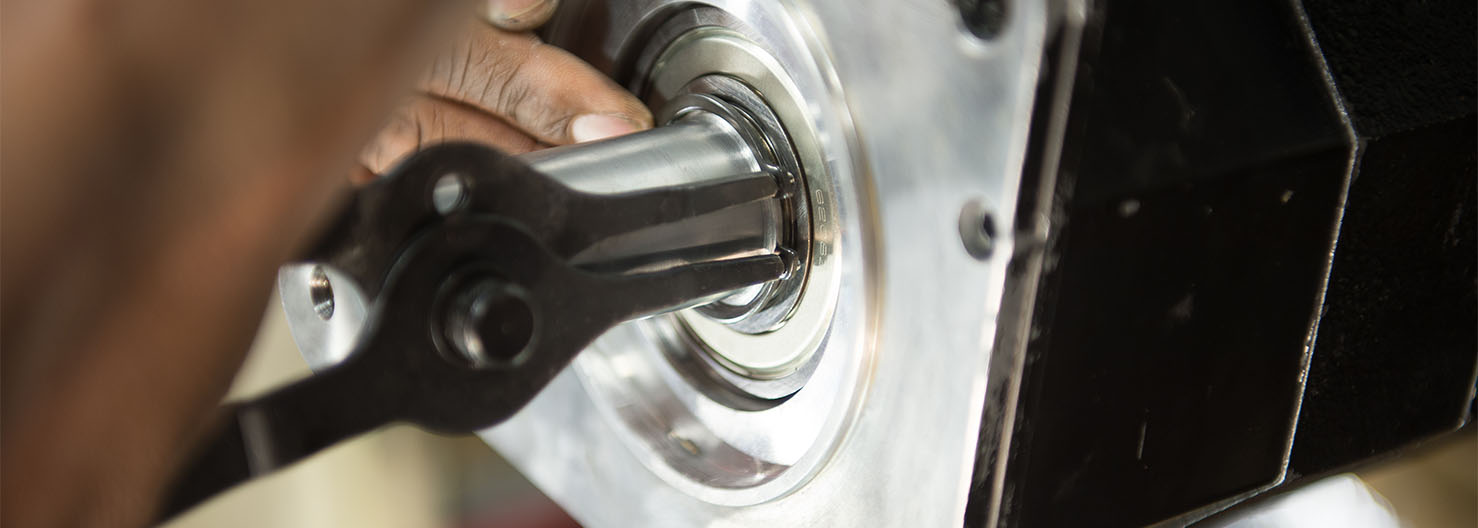
Did we mention that every servo motor repair undergoes documented disassembly procedures at the outset? We’ve come so far, there can be no room for error in reassembly. Efficient reassembly allows for quicker turnaround, while the documented process requires accuracy throughout – even down to the tightening torque, as it should be.
Building on the already comprehensive checks completed during the initial evaluation phase, two new initiatives get introduced and take center stage here. Namely, testing the brake torque and release voltage.
But we’re not done. The same four tests taken during the evaluation phase are repeated to confirm everything is back together and functioning as intended with two new additions:
- Surge Test: The only test that finds turn-to-turn insulation weaknesses. These weaknesses start at voltages above the operating voltage of the motor and are precursors to serious failures and shutdown of a motor.
- Hipot Test: Measures any leakage of the current within the unit. If you see a fault with the megger, you will see a fault with the hipot. However, the hipot stresses the insulation weak points at higher voltage levels than the megger will.
Lower voltage tests do not stress the insulation and consequently, dielectric weaknesses go unfound. Higher voltage tests like the surge test and hipot test can identify these issues before they damage the equipment or endanger an operator.
5. FEEDBACK ALIGNMENT
The most complicated step of the servo motor repair process

Encoders and resolvers improperly aligned open a myriad of problems. Everything from runaway to low torque and even no movement.
ICR technicians use the Linea X3 by Octava Engineering with its digital-first alignment to guarantee the sought-after and often elusive 0° position for perfect operability.
We’re able to zero in on issues with improved diagnostic capabilities. View individual waveforms for deeper analysis.
6. THE FINAL TEST
It all comes down to this

Each servo motor undergoing repair is compared against known good measurements, and we won’t release it back into production until returned to OEM specifications.
For the final test, servo motors undergo a fully closed-loop system test with the appropriate servo drive to test the motor’s speed (rpm) and amperage. Additional time is given to test for any thermal failures.
7. PAINT
The finishing touches
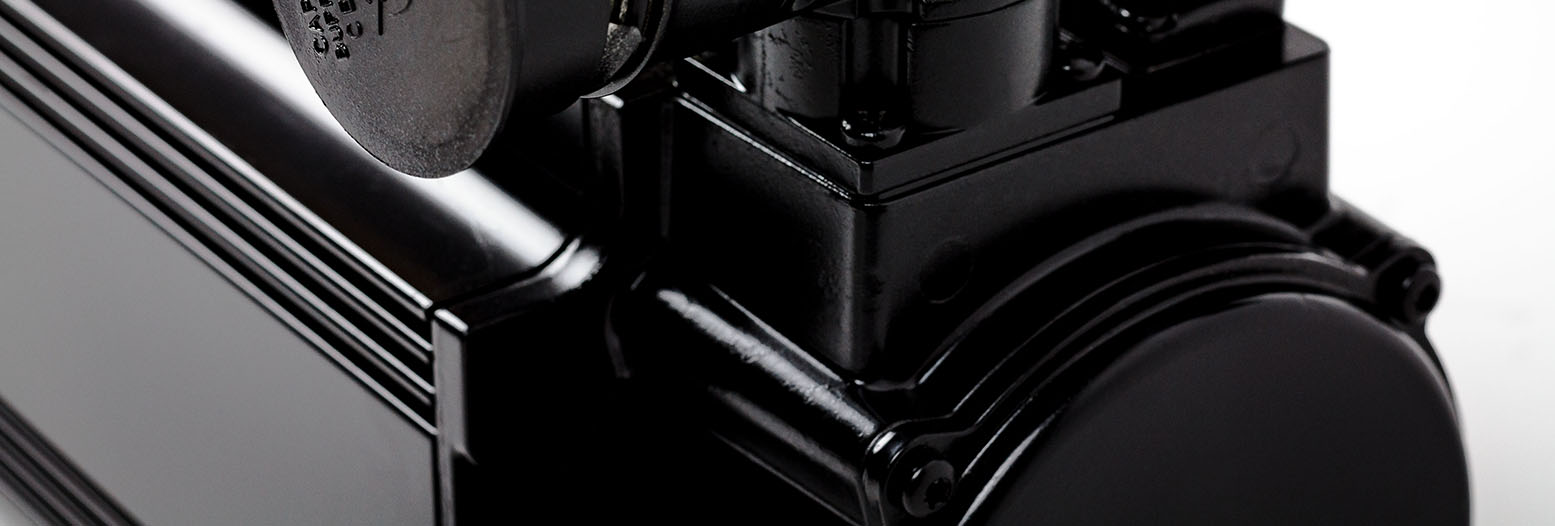
It’s amazing what a fresh coat of paint can do, and a motor that is good on the inside deserves to look good on the outside.
At last, the ICR Serviced by Label. It’s kind of like the FDA approval on a new remedy. This label is only applied when the repaired servo motor has undergone every step of our detailed servo motor repair process.
The Journey Back to Production is Complete
The servo motor repair process we’ve described here is documented with data and photos – proof that others can’t stand up to. Here are 7 questions you want to ask a repair service provider to make sure they can stand up to the test.
Use this to help you decide if servo motor repair or replacement is right for you.
And about those hundreds if not thousands of fault and alarm codes unique to each servo motor: if they frusturate your operation, uncomplicate the landscape and cut through the confusion. Send us your reported problem and we’ll offer a solution to remedy it.